 Raku in Wisconsin
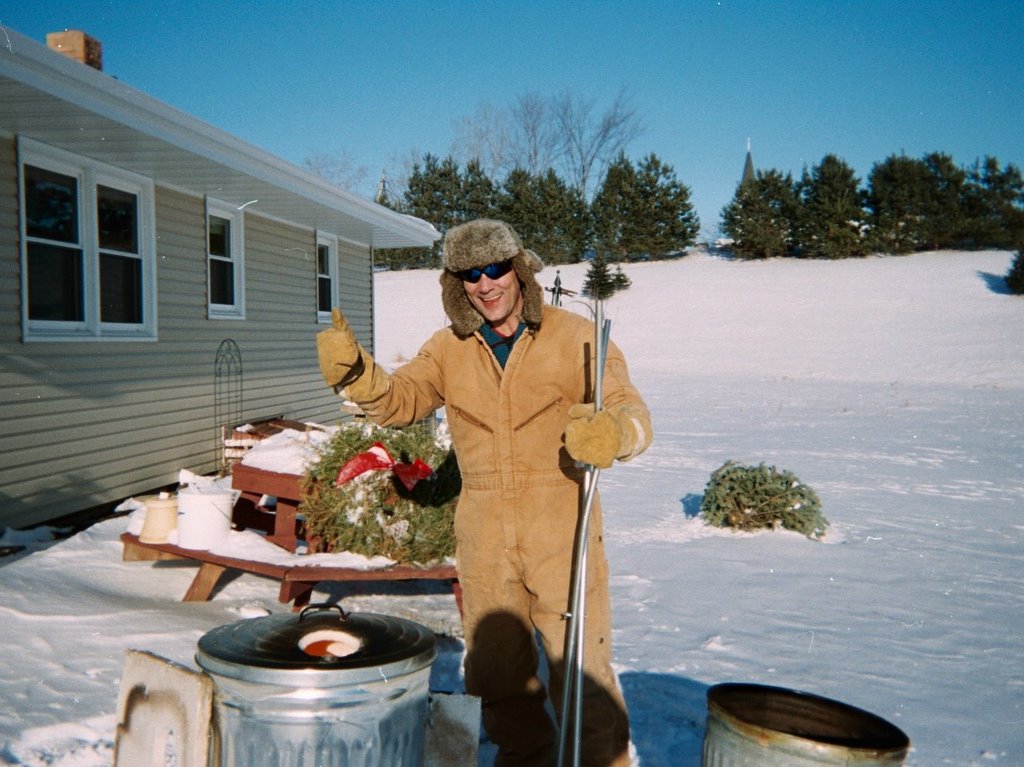
Early February
Well below Zero
All for a dozen test tiles
Crazy Huh?
Yahoo!
Raku in Wisconsin It doesn't look like much, but this is my Raku Burner system. It is called a "Big Bertha," model #166. It is made by L.B. White Co. Inc. in Onalaska, WI. Cost is approximately 80 dollars new. I borrowed this one from a friend of mine, but a good source for burners is eBay, under "weed burners." Real Cheap on eBay.
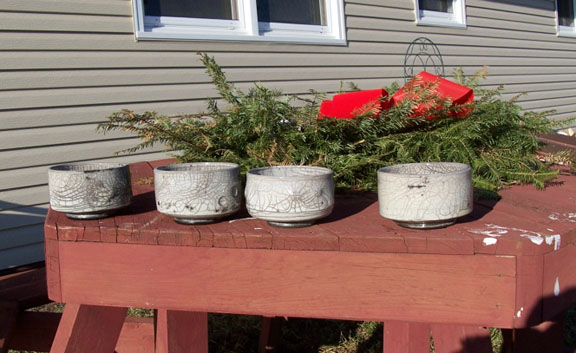
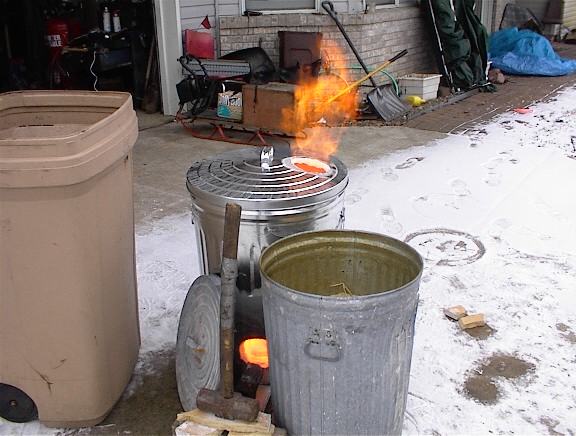 I had to fire my kiln immediately after completion. It was 24 degrees and pretty windy. In fact it was just cold and windy. The plastic garbage can helped to serve as a wind break. The sawdust filled reduction can and the lid served the same purpose. The sledge hammer was placed on top of the kiln shelf pieces to hold the burner in place.
 To finish the kiln just cut out the fiber from the flue and the burner port. I used the utility knife and cut from the outside in, leaving about an 1/8 of an inch edged between the fiber and the metal.
 I thought this step was the only difficult part of the project. I drilled two small holes into the can for each button. It was threading the wire through the holes that was difficult. Once threaded I just twisted the wire tight with a pair of small pliers.
 I scrounged a piece of fiber board from a friend of mine who worked for a furnace/AC repair place. Using a utility knife I cut out about 20 squares that measured 1-1/2 by 1-1/2 inches. The board was 1-inch thick.
 Using the marker, trace around the edge of the garbage can lid and cut out with the utillity knife. Turn the lid upside down and carefully tuck the fiber round into the bottom side of the lid
 This is the easiest part of building the fiber lined garbage can raku kiln. Place the can on the fiber and trace around the perimeter with a magic marker. I set the can on the edge of the end of the roll and the side. This allowed me to save about a 4 inch by 4 foot pieces of fiber for future use in some other project. "Waste not, Want not."
