 For my Raku Kiln I purchased 1 roll of KaoWool off of eBay--Real Cheap. It is 1 inch by 24 inches by 25 feet. This is more than enough for the project. The main piece for the kiln measured 5 feet in length and I cut 2 circles for the bottom of the can and one circle for the lid.
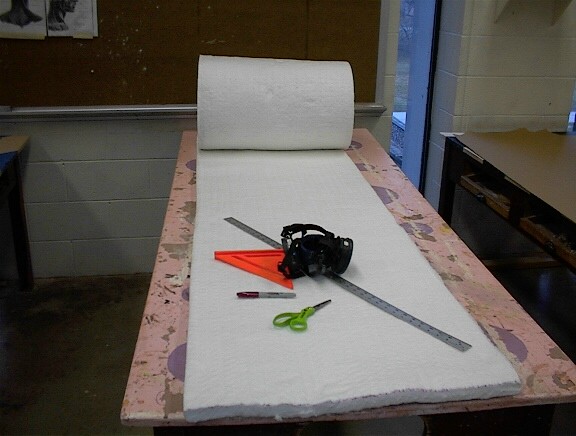
Working with this fiber is hazardous to your health. Make dang sure you wear a respirator when working with it. I also found that a thin pair of garden gloves helps as well. The stuff is itchy and irritable, just like fiberglass. I started cutting the fiber with scissors but found that a sharp utility knive worked much much better. The carpenter's square was not necessary but looks good in the photo.

