Separating the burner mixer pins from the venturi base plate wasn't an easy job but made much easier with the help of a big-ass pipe wrench, a vise, and some WD-40.
Tuesday, August 23, 2011
Burner/Mixer Pins
Separating the burner mixer pins from the venturi base plate wasn't an easy job but made much easier with the help of a big-ass pipe wrench, a vise, and some WD-40.
Kiln Burners
Saturday, August 20, 2011
Slow Going
Wednesday, August 17, 2011
Nuts!
Monday, August 15, 2011
Kiln Insulation
Thursday, August 11, 2011
Fixing Up The Kiln
A little bit of work needs to be done to the top of the kiln. Will be putting a layer of brick around the flue holes first. Then I was thinking about putting down an inch layer of fiber over the arch. Not sure yet but I have bunches of broken up IFBs and was considering covering the fiber, to the left and right of the damper, with that and evening it out to the top of kiln.
Friday, August 05, 2011
Free Kiln For The Moving

The Tough Part

Loaded
Needs A Door
Saturday, July 16, 2011
Kanna Trimming Tool

Friday, July 15, 2011
Tea Bowl Profile

A Different Foot
Foot #1
Wednesday, July 13, 2011
Chawan Halved

Still Carving Kodai
Friday, July 08, 2011
Chawan

The Kodai

Wednesday, July 06, 2011
Chawan

Tuesday, July 05, 2011
Pinch Pot Fish

Tuesday, June 28, 2011
Finished Product

Thursday, June 23, 2011
Korean Style Kick Wheel
I finally got off my dead ass and had the local machine shop fabricate the shaft and baseplate for my Korean Style Kick Wheel.Tuesday, June 21, 2011
Clay Extruder

Wednesday, June 08, 2011
Clay Extruder/After photo
Clay Extruder
Wednesday, June 01, 2011
Sitdown Motorized Potter's Wheel

Tuesday, May 31, 2011
New Old Wheel

Tuesday, April 26, 2011
Ceramic Adhesives

Thursday, April 21, 2011
Getting Closer

Tuesday, April 19, 2011
Another Torso

Monday, April 11, 2011
Torso II
Friday, April 01, 2011
Torso Update
Tuesday, March 29, 2011
Gettin' Muddy Again
Friday, January 28, 2011
Tile Press

Tuesday, January 04, 2011
Treadle Wheel
Spent the weekend cleaning this stand-up treadle wheel with a wire brush, sand paper, and spray paint. I used red and gray paint because they were the original colors.I don't know much about it. It appears to be home-made and there are no signs or marks on it that would indicate being manufactured, but it seems pretty dang smooth. I did try throwing some clay on it when I first got it. All I can say is it is going to take some practice. Does anybody have some helpful hints for me?
Wednesday, December 29, 2010
Haven't Posted For a While
I am also currently building a website jeffguin.com. Right now I am just figuring out how I want the site set up so I am creating pages and links and adding photos of pottery that I have made in the past. The site tends to change every day but hope to finish it up soon.
Outside of my activities stated above, I plan on finishing the fiber lid for my brick wood burning kiln, clean and tune-up a treadle wheel that is sitting in the studio, fire up the fiber raku kiln, clean the studio, throw some pots---Well, lets just say I'd better get to doing and stop the "planning."
Tuesday, August 31, 2010
Wood Kiln
The wood kiln is nearing completion. It is looking pretty good and I'm pretty happy about it so far. Here are a few random thoughts about the kiln building process to date.Plans are good but don't count on following them to "the letter." It ain't gonna happen. My original plans that I drew up don't look like this kiln at all, except that it is 8 feet long and the walls are about 24 inches tall.
Fire bricks are not the same size. They might look like it and might stack nicely on pallets but they definately aint the same size.
Assume from the beginning of the project that you're going to be a brick short. That goes for mortar too. If you're cutting brick, you're going to cut a bunch of them wrong. In fact, just think that you don't have enough of everything on the purchase list to complete the project.
The next step for this project is to purchase some insulating material for the arch and the sides of the kiln. I am thinking about about a home-made mixture of Diotomaceous Earth and Fire Clay, four parts to one.
After work today I am going to light up a fire in this puppy and see how it works. Basically I am just going to play around with the inlet flues and see how the chimney drafts.
Tuesday, August 10, 2010
Tapered Chimney

Monday, August 09, 2010
Wood Kiln Chimney Flues

I'm getting closer to finishing the mortaring. Here is the chimney and flues. One mistake I made was that I did not tie in the first layer of bricks that sit atop the flue brick into the walls of the kiln. I say "Just deal with it."
The measurements at this point are: inside is 23 inches wide and 18 inches tall. The chimney is 8 inches deep and 23 inches wide. This is the point where I am going to start tapering my chimney to get to a 9 by 9 inch hole.
The flues are 7 inches tall. The center flue is 2.5 inches wide and the others are 1-3/8 inches. I didn't follow any principles from any books regarding flue size and intake holes. I just built them based on photos I've seen of other kilns and figured better too big than too small.
Today, if the rain holds off, I hope to finish the tapered chimney and the front of the kiln.
Sunday, August 08, 2010
Wood Kiln Construction

Changes, changes, changes. I spent the last two years bugging people about kiln design and construction, looked at bunches of books, plans, etc.....and have come to the conclusion--If you want to build a kiln "JUST START BUILDING!"
I'm serious. Nothing goes according to "plan" and if you stick to that plan and are convinced to follow that plan and make it work---well, more power to you. Its just a big headache. In fact its just a pain in the ass. Have an idea and just start building and solve the problems as they come up.
In this case I've finally started mortaring the brick. Mix is one part sand, 2 part fire clay. I've never really mortared brick before so I took it slow mixing up very small batches in a 5 gallon bucket, although I only mixed about 1/2 gallon of mortar at a time when I first started. Stuff drys fast and I was by myself--a true tyro.
As I was saying. Just build it. The dimensions have changed everytime I put them on paper. Once the bricks were stacked and mortared my dimensions are: 32 inches wide and 81 inches long (outside dimension). Ware chamber is 18 inches tall in this photo but will be 20.5 inches, and 23 inches wide when complete, (approx 9.5 cubic feet). And its 35-1/2 inches long. The fire box is 24 inches long by 23 wide by 20-1/2 inches tall.
I'm still planning on one-inch thick kiln shelves for the roof, layered with soft brick and fiber on top of that.
Still working on the front part of the kiln. Right now I am going to tie-in all the brick and create a door with some air holes in the front.
I should mention that the base is 36 cinder blocks and on top of that a bunch of house brick, then the fire brick. The exterior of the kiln will have a 2 inch layer of insulating material of some sort. Oh! and I did incorporate 2 peek-holes on each side. One in front of the fire box area and one higher against the back wall. I plan on using soft brick to fill these holes.
I'll post some info on the chimney and flues in my next post. But this is where I'm at, at the moment, But, everything is subject to change.
Friday, July 30, 2010
Mouse hole/Grate system

Tuesday, July 27, 2010
Wood Kiln Number One

Thursday, July 08, 2010
Ramona Raku Kiln

This is my fourth garbage can raku kiln I have made since 2006. I have the complete steps with photos posted on this blog dated Jan. 2006. My first kiln lasted about 2 years. It seemed like I was firing it up every weekend all year long and it also sat outside in the yard. I called it Rusty Raku. One day I forgot to plug the hole and some critters got in and tore up all my fiber. So I built another.
The second kiln lasted about a year but was taken out by a major flood, the kind they say happens once in 100 years. Nothing to cry about. I built another. Less than one year later that once in a 100 year flood struck again, although not as bad, but it still took out my kiln. That was was my fault though because I had a hasty trip to make to the west coast and I forgot to bring my kiln into the studio. Anyway, I built another and am getting pretty good at it.
I call this one Ramona Raku. She is lined with two layers of one inch fiber which is held in place with a combination of sodium silicate and ceramic buttons that I made from heavily grogged raky clay. Looks great and I'm sure it will fire a lot better than my previous kilns, as they only had one layer of fire. Once I clean up my burner I'll fire her up and post some photos. Stay tuned.
Friday, June 11, 2010
Incense Bottle

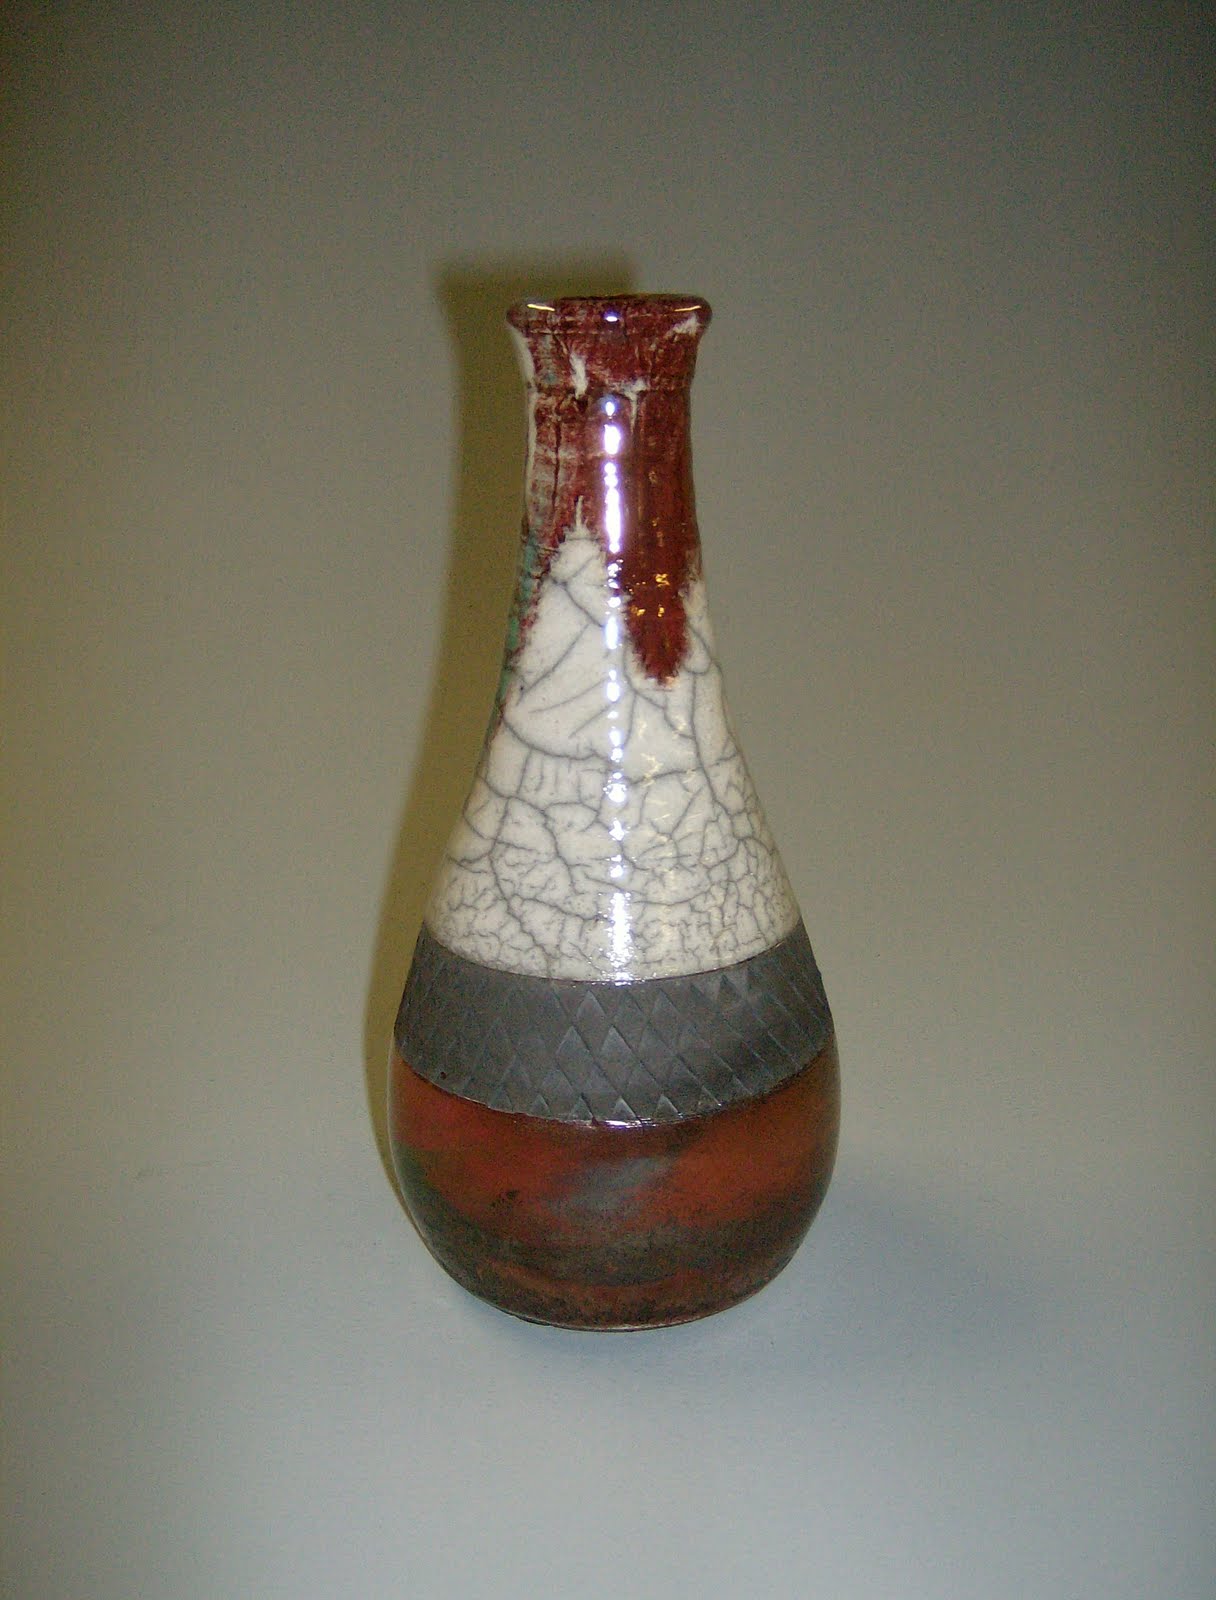
Raku fired incense bottle, approximately 12 inches tall. What is an incense bottle? Well, you burn incense sticks in it. The end of the wooden stick is placed in a round clip, the incense is lit as normal and then dropped into the bottle. The round clip sits in the neck of the bottle. The incense burns upward and the smoke comes out of the top of the bottle neck. All the ashes fall into the bottom of the bottle. A very safe way to burn incense and I have recently found that there is a big demand for them.
The top of this bottle was glazed with clear crackle raku glaze and then lightly dipped in Green Apple raku glaze. The bottom was glazed with Green Apple as well.
Wednesday, June 09, 2010
Some New Pots

Tuesday, May 25, 2010
Pit Fire Colors
Wednesday, May 05, 2010
Pit Fire
Last Friday I helped students from Viterbo University with Alternative Firing. The get together was held at the instructor's house and we utilized his back yard fire pit for a pit firing. In this photo we have already lined the pit with sawdust, loaded all the pots, piled wood on top of the pots and lit the fire.The pit was only about one foot deep so we stacked some brick up to increase the depth to about two feet. I also brought my barrel and we did a barrel firing as well. All the pots around the pit are just pre-heating because we fired my raku kiln non-stop, load after load, till 1:30 in the morning. Once the top pots were removed from the top ledge of the pit and raku fired we placed a loosely fit tin cover over the pit and let it burn itself out. I'm guessing we had about 50 pots in the pit. Some were wrapped in tin foil saggers, some had terra sigallata finishes, and some were just plain bisqued pots. We also sprinkled copper carb and some other "magic dust" around the pot to create colors. The good news is everybody had at least one piece that they were extremely happy about but all the pots looked great to me and we had no breakage. All in all I think we fired the raku kiln about a dozen times and between the three kilns fired about 150 pots. We're in the process of taking photos of the finished pots and when that
is done I'll post a slide show of some of our favorites. All I can say is that it was a fantastic and successful event. Stay tuned for the slide show.
Thursday, April 08, 2010
Homemade Pottery Tools
I've been making a bunch of pottery tools lately. These are just a couple. The strips of wood are slab rolling strips 1 inch wide, 24 inches long, and 1/4, 3/8, and 1/2 inch thick. Of course the sponges are just sponge sticks. Easy to make and fun to use, as are all my homemade tools, because I made them. I also made a bunch of wooded trimming tools and a bunch of cool textured paddles. I posted photos of those on my other blog Coulee Region Art. Check them out.Anyway, if I'm not getting muddy in the studio, at least I'm getting dusty.